Royal Neighbors of America Header Image
Search

No Elastic, Filter Pocket Mask Project

Teal Banner Copy Goes Here (OR DELETE)

DIFFERENCE MAKER FUND PROJECT – DIY STEPS


Materials Needed: cotton weave fabric, all-purpose thread, needle, pins, measuring tape/ruler, and scissors.


  1. Cut Fabric
    Use a ¼ seam allowance. Cut one piece of fabric that measures 9” x 7” for the front. Cut two more pieces of fabric that each measure 9” x 8” for the back of the mask. Cut two ties at 44” x 2”.
  2. Fold the Back Pieces in Half
    Fold the larger back pieces in half lengthwise to create two pieces that are 9” x 4”.
  3. Pin the Folded Fabric
    Pin the folded fabric back pieces to the right side of the front piece. Match up the raw edges at the top and bottom of the mask. The fold edge of the back pieces should overlap 1” to create a pocket.
  4. Sew the Seams
    Sew the side seams with a ¼ seam allowance and do not sew the top and bottom. Turn right side out and press.
  5. Binding
    Fold the long edges of the binding over, almost meeting in the middle and press. Fold in half again to complete the double-folded binding. Pin the mask into the middle of the binding.
  6. Sew Close and Complete
    Sew close to the open edge of the binding, sandwiching the mask inside, folding under the binding edges and catch in the same seam, then backstitch. Complete at the top and bottom of the mask. Create three pleats each about ½”, all facing downward. Pin and stitch well.


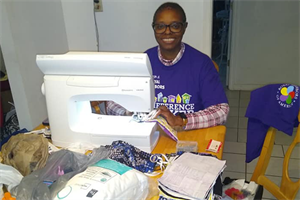
Sewing Masks
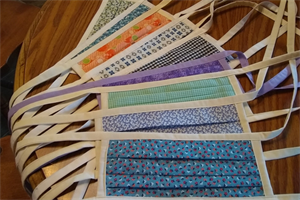
Masks Complete
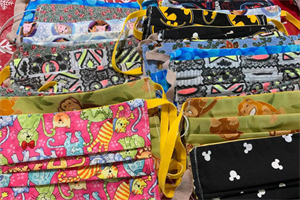
Masks Close-Up


You are Finished! Wasn't that easy?

Be sure to document everything with lots of photos to share with Royal Neighbors. This is also the time to send thank-you notes to your donors and volunteers.

Close Button
Form #: P00491; Rev. 6-2021